April 24, 2010

York Peppermint Patty Cupcakes

A few months ago, Food Network magazine published some recipes for cupcakes that were supposed to taste exactly like your favorite candy bar. Today, I tried out the Mint Patty Cakes, which are supposed to taste just like York Patties. Here's the recipe:

CUPCAKES:
3 sticks unsalted butter, cut into pieces
1 cup Dutch-process cocoa powder
3 1/4 cups packed dark brown sugar
3 cups all-purpose flour
1 teaspoon baking powder
1/2 teaspoon baking soda
3/4 teaspoon salt
1 1/4 cups buttermilk
2 large eggs, at room temp
2 teaspoons vanilla extract

TOPPING:
1 pound confectioner's sugar (about 4 cups)
1/2 cup light corn syrup
1/4 cup vegetable shortening or cocoa butter, softened
2 teaspoons peppermint extract

GLAZE:
8 ounces bittersweet chocolate, finely chopped
1/4 cup light corn syrup
1 1/2 tablespoons unsalted butter

CUPCAKES:
1) Preheat oven to 350 degrees & line 2-12 cup muffin tins with paper liners.
2) Put the butter, cocoa powder, and 3/4 cup water in a medium microwave safe bowl, cover with plastic wrap and microwave until the butter melts (about 2 minutes). Whisk to combine, then whisk in the brown sugar.
3) Whisk the flour, baking powder, baking soda and salt in a large bowl. Whisk in the warm cocoa mixture.
4) In another bowl, whisk the buttermilk, eggs and vanilla; stir into the batter until just combined (don't overmix).
5) Divide the batter into the prepared cups, filling each about 3/4 full. Baking about 30-35 minutes, until cupcakes spring back when touches. Let cool in the pan about 10 minutes, then cool completely on a rack.

TOPPING:
1) Beat the confectioner's sugar, corn syrup, shortening and peppermint extract with a mixer until the tight paste forms.
2) Gather into a ball, place between two sheets of parchment paper and roll out to 1/4 inch thick (microwave 15 seconds to soften, if necessary).
3) Use a 2-1/2 inch round cutter or juice glass to cut into disks; reroll scraps. Place a peppermint disk on top of each cupcake.

GLAZE:
1) Put the chocolate, corn syrup, butter, and 1/4 cup water in a microwave safe bowl, cover with plastic wrap and microwave on 50 percent power until the chocolate melts, about 2 minutes.
2) Whisk to combine, then cool slightly.

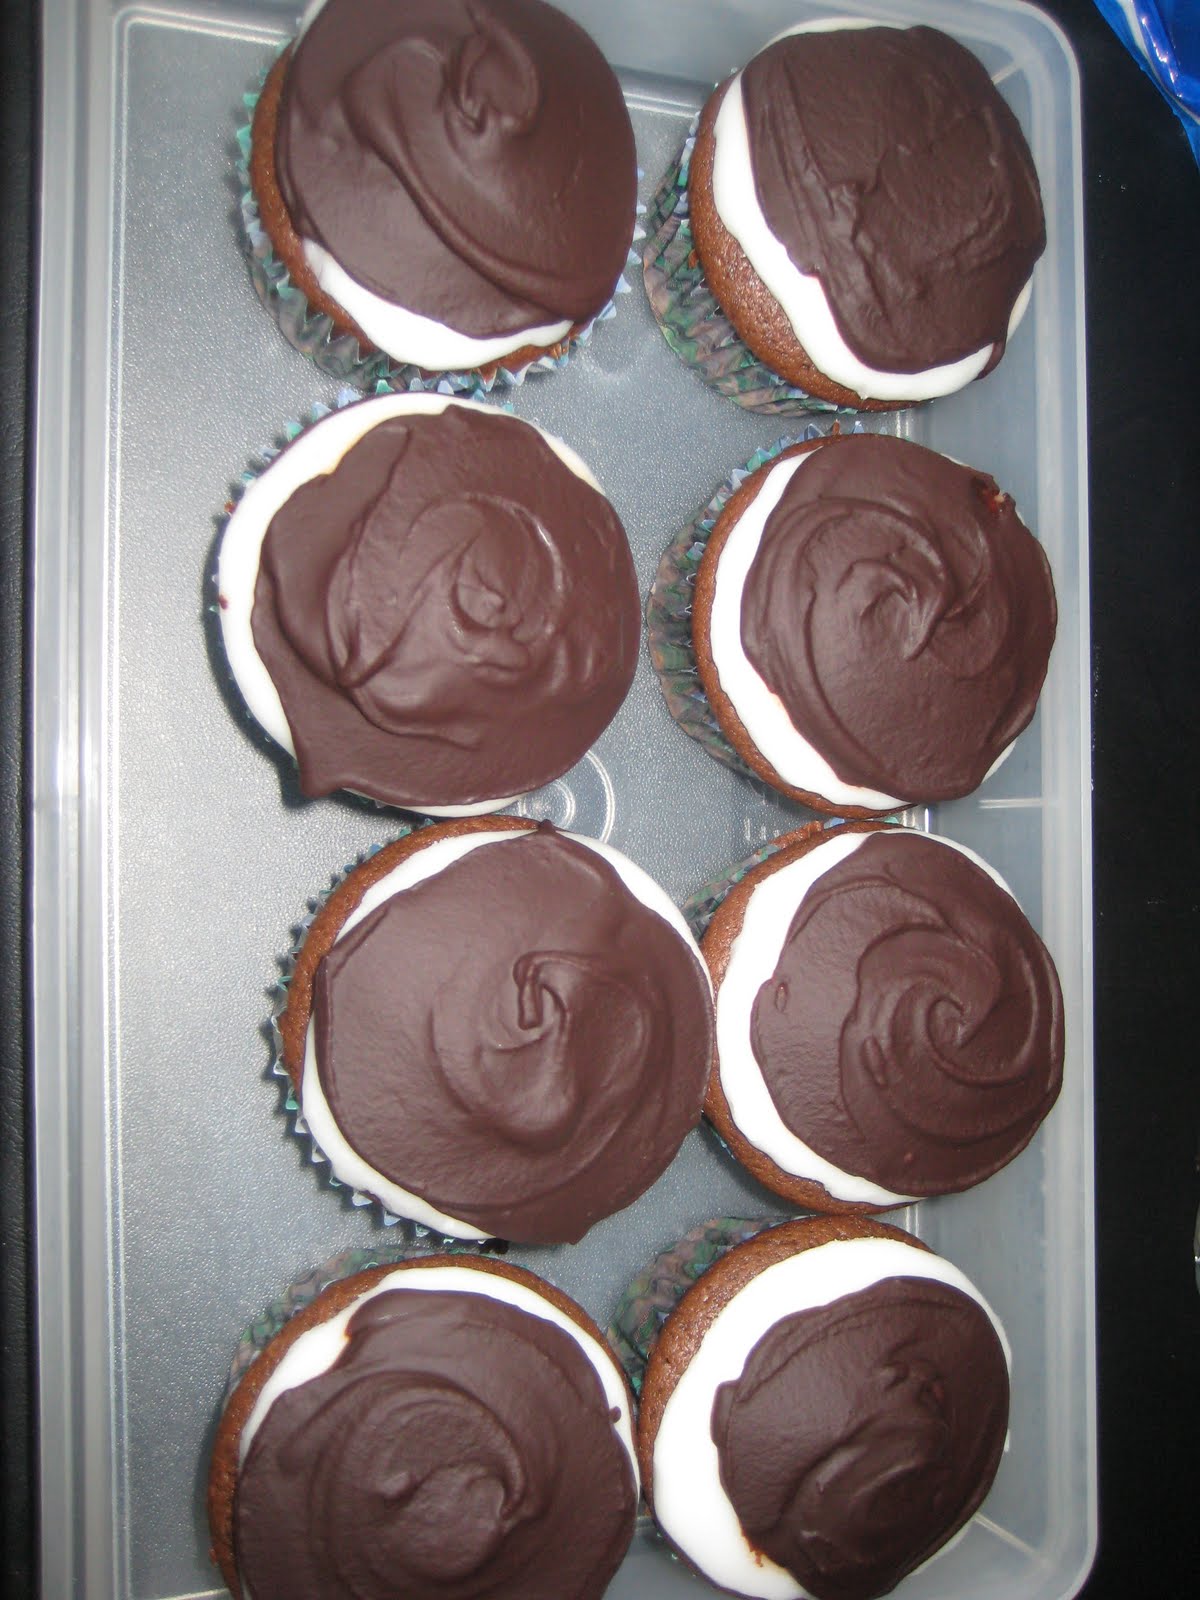
Spread the glaze over the peppermint topping, leaving some peppermint exposed. Refrigerate until set, about 20 minutes. Serve cold.

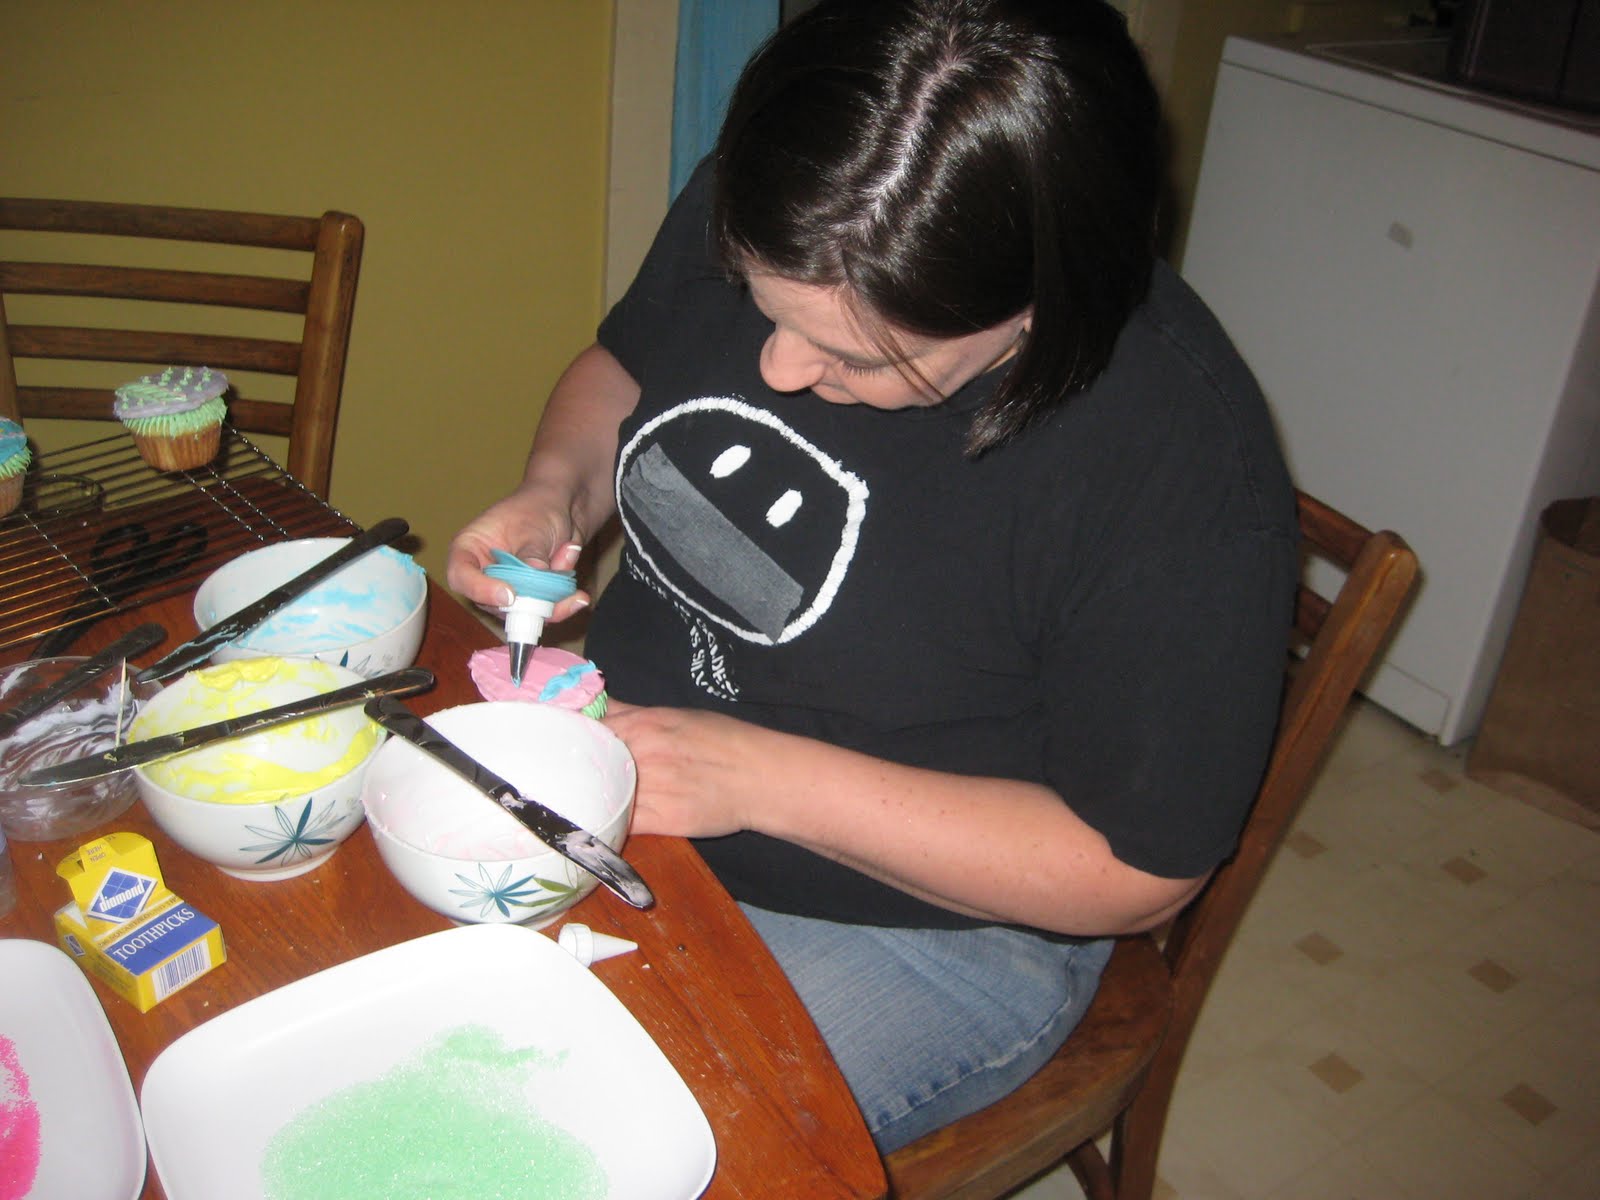
Here are some pictures from my first attempt at these cupcakes:

April 17, 2010

S'more Cupcakes

In honor of the official beginning of S'more season here at work, I made these wonderful S'more cupcakes. My friend Sherry, one of my favorite foodies, came in to the office with a mouthful of cupcake to proclaim them the best cupcake she's ever eaten. That was enough validation for me to pass this recipe along! But first, here are some pictures:


S'MORE CUPCAKES - makes ~24 (recipe courtesy of Woman's Day magazine)
Crumbs:
6 graham cracker boards (oblongs)
2 Tbsp sugar
2 Tbsp melted butter
1/2 cup mini semisweet chocolate chips

Cupcakes:
2 1/4 cups all-purpose flour
1 1/2 cups sugar
3/4 cup unsweetened cocoa powder
3/4 tsp baking soda
1/4 tsp salt
1 1/4 cups buttermilk
2 large eggs
1/2 cup canola oil
1/2 cup water
1 Tbsp vanilla extract

Marshmallow Topping:
6 large egg whites
1 1/2 cups sugar
1/2 tsp cream of tartar
1 tsp vanilla extract

Small butane torch (or, if you're me, a candle and a lot of patience)

1) Heat oven to 350 degrees. Line 24 muffin cups with paper liners.

2) Crumbs: process graham crackers in food processor until fine crumbs. Add sugar and butter. Pulse until blended. Spoon about 2 tsp into each muffin cup. Top with 1 tsp mini chocolate chips.

3) Cupcakes: In large bowl, whisk flour, sugar, cocoa, baking soda, and salt until blended. In medium bowl, whisk buttermilk, eggs, oil, water and vanilla until blended, whisk into flour mixture until smooth.

4) Spoon about 1/4 cup batter into each muffin cup. Bake 20 to 25 minutes until wooden pick inserted in center comes out clean. Let cool completely.

5) Marshmallow Topping: Put egg whites, sugar, and cream of tartar in a large metal bowl. Set over a saucepan of simmering water. Whisk constantly until sugar is dissolved and whites are warm to the touch, about 3-4 minutes.

6) Transfer to a large bowl of an electric stand mixer. Beat 5-7 minutes, starting on low speed and gradually increasing to high, until stiff, glossy peaks form. Beat in vanilla. Spoon into a large ziptop freezer bag.

7) Snip a 1-inch opening off one tip, pipe topping onto each cupcake. (It will be helpful to have several peaks in the topping). Using handheld torch*, lightly brown the topping, taking care not to burn the cupcake liners. 

Serve immediately, or store in airtight container at room temperature for up to 2 days.

*If you don't have a handheld torch, you can always hold the cupcakes upside down over a candle. It takes about 1 minute per candle, depending on how many peaks you put in the frosting. It works just as well - just be careful to blow out the cupcakes liners if they catch!

Enjoy & happy eating! :-)


April 5, 2010

Easter Cupcakes!

A while back, my mom gave me this wonderful book called "Hello, Cupcake!" It contains recipes for cupcakes and various kinds of frosting, but most importantly it gives step-by-step instructions for creating themed cupcakes. There are butterfly cupcakes, shark cupcakes, baby shower cupcakes, Christmas ornament cupcakes, cupcakes that look like aliens or penguins or alligators... the list goes on and on. This Easter, I decided to attempt to make the book's featured Easter egg cupcakes. Keep in mind, the book is more about decoration than recipes for flavors (although I did use the vanilla cupcake recipe in the back to make the cupcakes themselves). All of the decorations are edible. So to start, with the help of my wonderful mother, I had to cut out honey graham crackers to look like Easter eggs.


Then began the tedious process of attaching the graham crackers to the cupcakes. Needless to say, cupcake tops aren't flat. And I learned that cream cheese frosting is not thick enough to really hold well, but we made it work. My friend Rachel, who works in food service for a living, graciously came over to assist with this part. We attached the grahams to the top of the cupcakes, and then began decorating.


We used pink & green colored sugar on the tops of some graham crackers. On others, we tinted dye using food-safe gel to make light purple, light blue, light pink, yellow, and green. We coated each graham in various pastel shades (except the hot pink sugar - it looked a little less vibrant in the package but shocked us with its intensity once on a cupcake), and then got to work decorating with an assortment of Easter-egg-esque designs. I ran into the same problem that I always run into when dying eggs - I only have so many patterns that I can do well. So some of the eggs ended up being a bit funky looking, while others actually turned out decently well. (That is, as long as I don't compare them to the picture in the book!) For the finishing touch, I piped light green frosting around the edges for grass, as if the Easter egg was lying in the grass (hmm... doesn't that sound so yummy?) Anyway, here is the end result:


And just for good measure, here's the picture from the book as to what they're actually supposed to look like:


Okay, so my grass looks more like monster hair than a sign of spring, but maybe by next Easter I'll have it all figured out:-)

Happy Easter!